Tuesday, June 08, 2010

Want Smooth Corners?

Pockets can be tricky sometimes. You can take the time to cut perfectly but when trying to fold the excess seam allowance for rounded or curved corners, an angular edge can sometimes result no matter how detailed or careful you press.

A long time ago I learned a trick for stitching rounded pockets which helps to eliminate the angular-ness of the edges. Recreating the Pocket step from the recent Ice Cream Dress pattern (by Oliver + S) that I made for SweetPea, I have made a simple tutorial to share the trick with you, too!

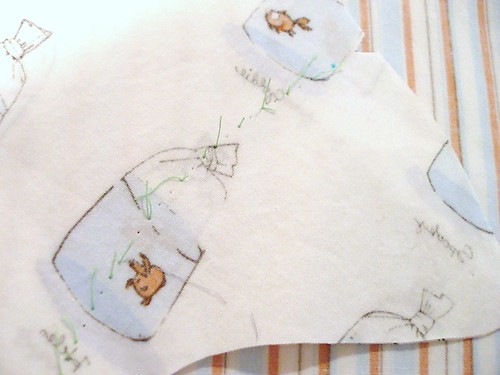
Starting with Step 2 of the Ice Cream Dress pattern, you will baste as instructed, creating your fold line for the pocket edge.


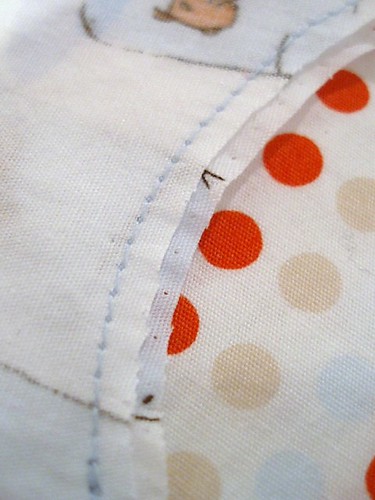
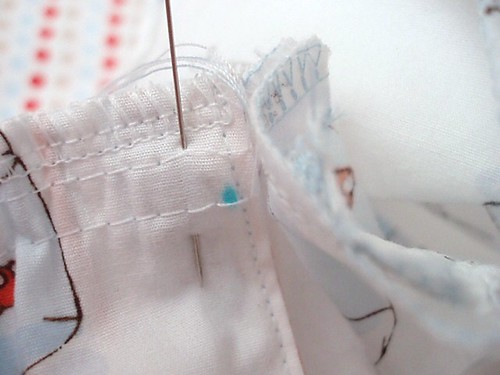
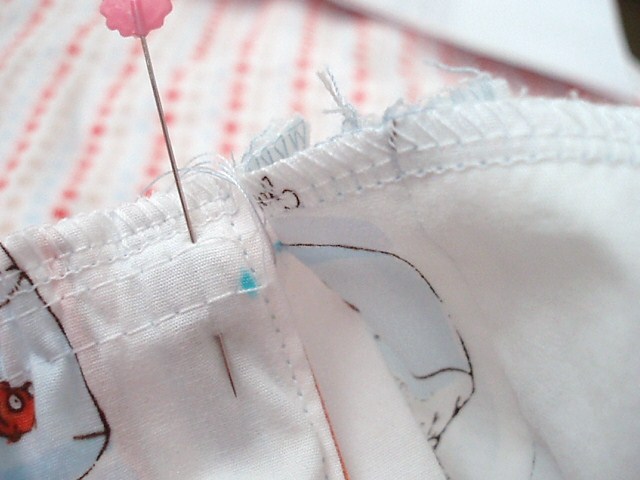
The extra step is to baste again inside the seam allowance about 1/8 inch from the original basting line. Begin just outside the curve on the straight edge. In this case I basted a second line for each curvature, starting just before and stopping just beyond the curved corners. Next, trim your seam allowance to within 1/8 inch from your newly basted lines (1/4 inch from your basted fold line). If you are making a rounded pocket, you will start your extra basting step at the beginning of the curve continuing around.

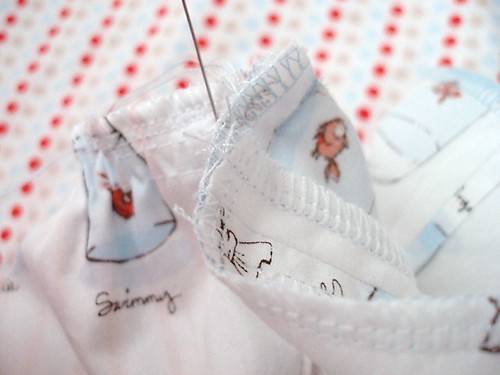
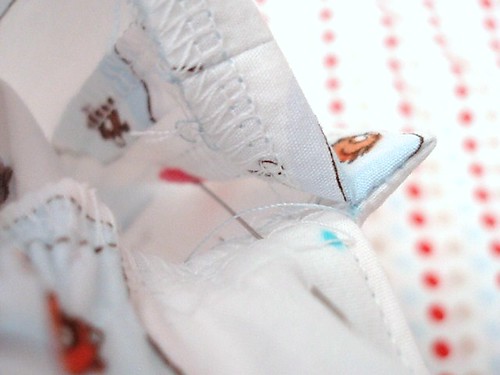
Using your long threads from the second basting lines around the curvatures, gently and very slightly pull a soft gather. Doing this will automatically bring the pocket corner into a smooth edge.

The basting stitches you see along the outside edge in the photo above were created in Step 2 as a folding guide for the pocket edge - use this basting line to fold the seam allowance in as you press. Once you stitch the pocket in place, you can easily remove the basting stitches.


Pin the pocket in place and slowly, carefully edgestitch it to the garment as instructed. I like to sew slowly around the corners, one stitch at a time, lifting the presser foot and turning the corners in between each stitch. This helps to keep the top-stitching line equidistant to the pocket edge.

This same trick can apply to quilt applique, too!

Saturday, May 29, 2010

Cold, Ice Cream Dress & Feedsack Fabric

Last day of school was Friday. Cowboy finished 4th grade and SweetPea finished Kindergarten (flashback here and here).

The weather was probably the most uncooperative I have ever experienced in my entire life of last day of school days - even my own childhood memories of the last day of school were always warm, sunny and comfortable (if not down right hot!). It just so happened to be Field Day on Friday, too (of course), and I just so happened to volunteer for such Field Day. It was cold, windy and somewhat wet.

I am allergic to cold. I get anxiety just thinking about how I will feel in any situation cold-weather related. Will I be warm enough? How long will it last? Will I be able to escape it? Will I survive? A little obsessive about cold, perhaps? Probably.

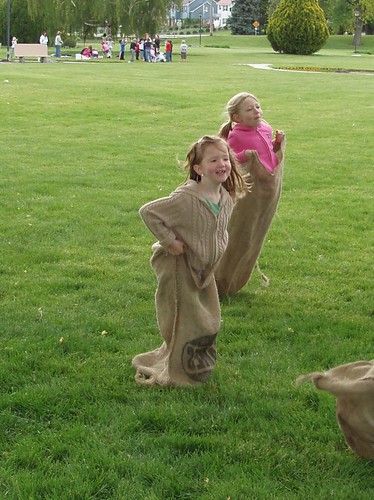
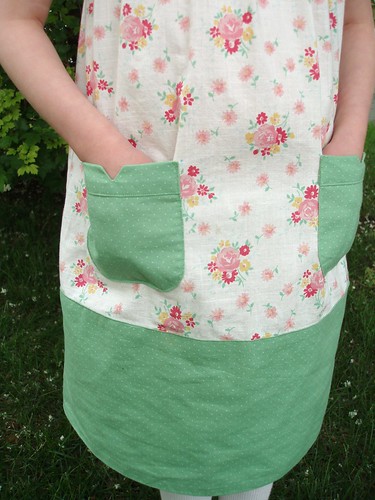
This is sewing-related, so bear with me. Being that it was the last day of school, SweetPea wanted to wear the new little Oliver + S Ice Cream Dress I had made for her. So, we opted for cold-weather-induced, winter ribbed tights as an additional accessory.

Add a sweater and nothing can remove the sunshine happiness of an old gunny sack race!

I will say that the dress turned out ever-so-sweet with the 1930's feedsack reproduction fabric I used. In fact, I was rather impressed with the Lecien fabric - once washed, it looked and felt like bona fide vintage feedsack! It was super soft and flowy - the perfect combination for this little dress which reminded me so much of the vintage feedsack dresses in style.


Stay-tuned for Cowboy's Sketchbook Shirt and Shorts! They're next under my needle...


Friday, April 23, 2010

1/4" Narrow Hemmer & Vintage-Styled Apron

Amazing. Simple. And, amazing - or did I already say that? Let me say it again - A-M-A-Z-I-N-G! Constructing a little apron for my daughter's teacher I decided to see if I could try out the 6mm or 1/4" Narrow Hemmer foot to quickly hem the ruffle pieces prior to gathering the opposite edge.

I did a quick finger press twice over for the first inch or sew at the beginning of the seam - stitched normally for about 4 or 5 stitches then I lifted the presser foot, backed up the fabric and inserted the fold into the curve of the foot. Proceeding forward, I held the fabric like you see below and voila. This was even on a bias curve!


Look at that! A perfectly narrow 1/4" hem! I hemmed the ties, too, because it was so easy.

This fabric print is one of my all-time favorite Japanese imports. I purchased it about a year ago from a sweet gal on etsy and I've been saving it for the perfect project. SweetPea's teacher is currently focusing on Nursery Rhymes and Fairy Tales for the class curriculum so she asked if I would make her a couple of aprons to coordinate. Little Bo Peep fits in perfectly with that theme, don't you think? The turquoise polka dot was a vintage dress or skirt of some kind that had been painstakingly dissembled for repurposing later. That never happened until I found it amidst some vintage fabric finds - probably at an Estate Sale or something. All bias is from my own vintage personal stash, too. I get so much satisfaction of not only having just what I need on hand but when it is a perfect match, too - so fun!

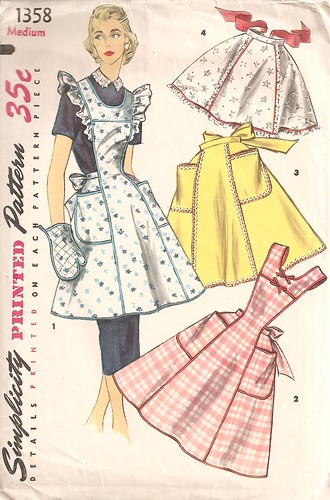
OH, I nearly forgot -the pattern was also from my stashes of past vintage finds... a Simplicity 1358 Vintage Apron pattern sized Medium.

Sunday, April 11, 2010

Oliver + S Bubble Dress Placket Tutorial

When my daughter recently asked if I would make her another "Bubble Dress" (you know your sewing has influence when your children begin asking for garments by their pattern name) I knew the timing was perfect to create a photo tutorial of the placket process. This photo tutorial will show you how to sew a perfect Oliver + S Bubble Dress placket without any open gaping.

Also, if you are careful with the cutting, marking and final hand-sewing, you can create two dresses in one! Follow along and I'll show you how.....

~ ~ ~ ~ ~ ~ ~ ~ ~
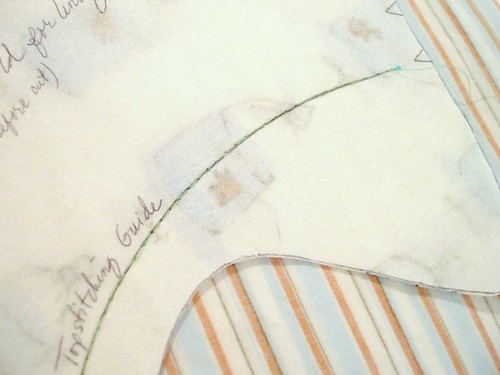
The pattern cut-out and construction are pretty straight-forward. However, one thing I did differently during the cut-out/marking process was to baste the pattern directly onto the fabric itself, like so:

Once you remove the basting stitches, you will have a perfectly marked top-stitching line! (I also recommend the use of a walking foot for the actual top-stitching in step #12, page 2, of the pattern - you will have much less puckering and pulling of the fabric layers.)

I also prefer to grade the neckline seam. This helps the neckline to lay flat and smooth on the outside of the garment.


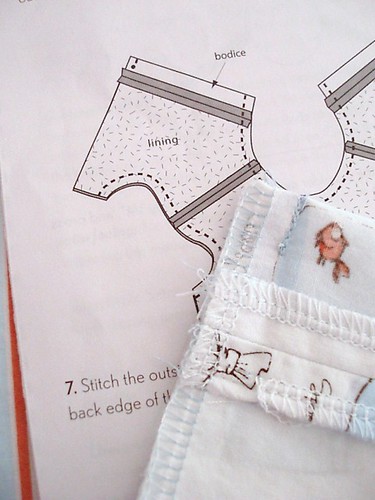
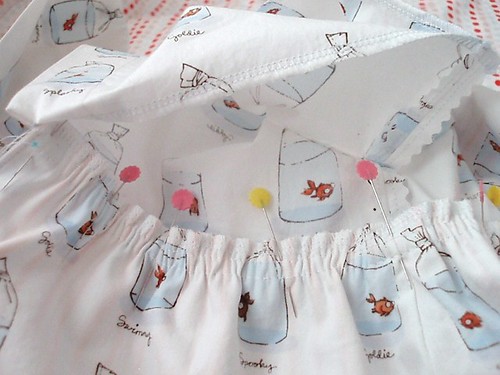
The placket construction really begins at Step #7 (page 2) of the pattern. Take note of the stitching in the illustration. You are instructed to stitch only to the dots (that you transferred to your fabric from the pattern) of the lower back bodice edge. This is very, very important! If you stitch any farther than the dots, then the placket construction will not take correct shape.

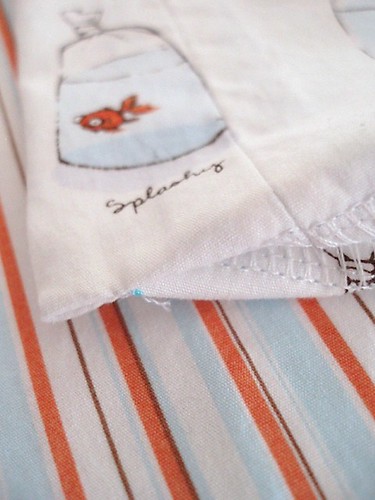
Bodice Placket turned right side out.

Beginning with step #2 (page 3) "Attaching the Bodice to the Skirt" you will need to make sure that your back bodice is turned inside out - especially the lower edge (the part that you stitched only to the dots). If you do this, you will have clarity for matching up your garment pieces to coincide with the pattern illustration. The left side of the illustration is what you want to pay most attention to.

Skirt is shown on the left side and the Bodice is shown on the right side - however, the bodice is turned inside out at the back lower edge:
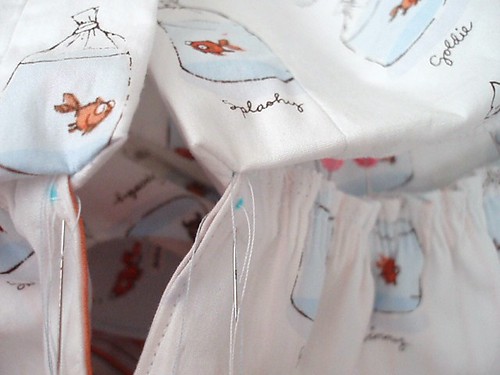
Same position, different angle:

Again, same position, different angle - you can see clearly in the photo below where the stitching line is of the lower back bodice that you finished in Step #7.

Below, you can begin to see what the final placket will look like once it is stitched and turned right side out...

Adjusting your gathers, continue pinning all the way around to the other placket side being careful to match your side seams along the way.

When you finish pinning the skirt to the bodice, this is what your placket will look like (on the lining side). Now you can stitch the skirt to the bodice.

Being very careful, handstitch the bodice lining in place being sure to place the lower bodice-lining edge over the stitching line you just finished when sewing the skirt to the bodice. Now turn the garment right side out and follow the final steps of the pattern to finish sewing the dress.

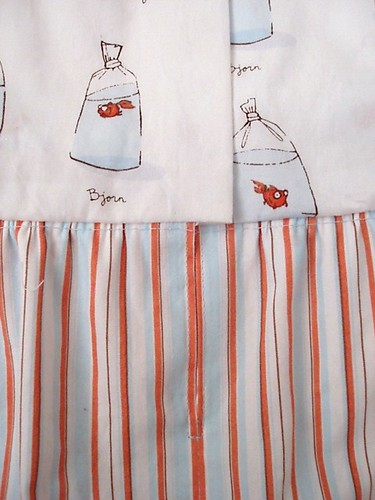
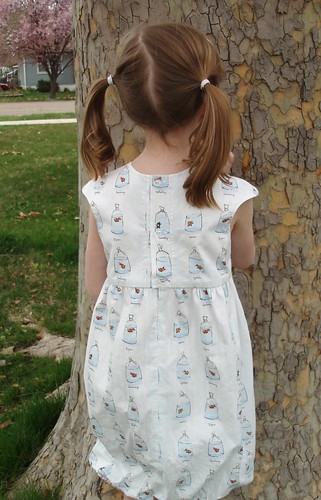
The photo below shows how the placket should overlap on the outside of the dress.

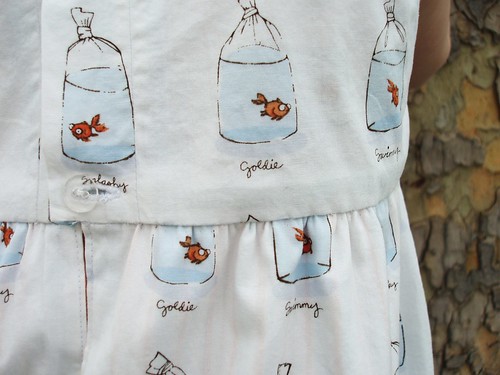
Finished garment with buttons in place.


Notice her little fishy face?


Want this to become a reversible dress?

Careful handstitching will allow for that feature easily!

You will notice that the placket must overlap the opposite direction on the lining side for the reversible-dress option. The buttons are on the same panel, but each one is sewn opposite front-to-back of each other.


For a fun little laugh, you might enjoy her "Bubble Dress, Golden Fish" song here.

Saturday, March 06, 2010

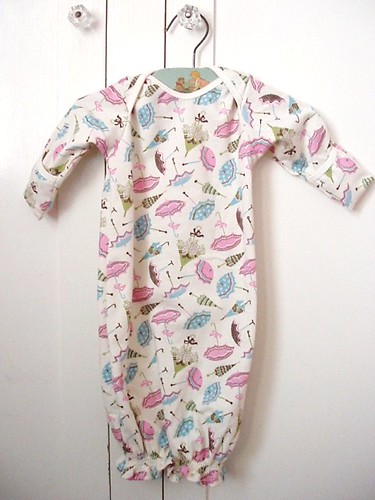
Infant Baby Gown


This was a shower gift I made for a friend from church. She's due in May and having a little girl.
The pattern is a Kwik Sew 3090. If using binding I recommend trimming the seam allowances by 1/4 to 3/8 of inch first.

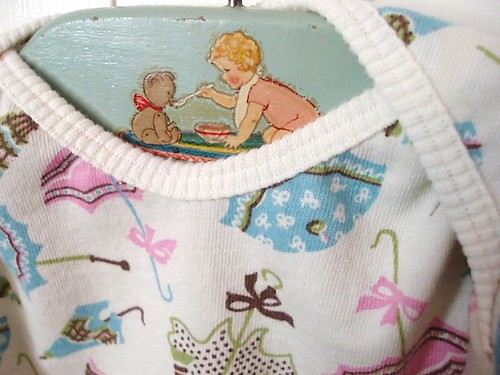
I'm in love with my Babylock Coverstitcher. in. love. I am no binding expert, believe me. I'm not even all that experienced with knits, but just look at what this machine can do!!!!! It makes me feel like a professional! Thank you little Babylocky - I love you for it and must give credit where credit is due.


Shirring was accomplished by putting elastic thread in my bobbin and using the shirring foot made the process even easier!

Thursday, February 11, 2010

More Valentine Goodness

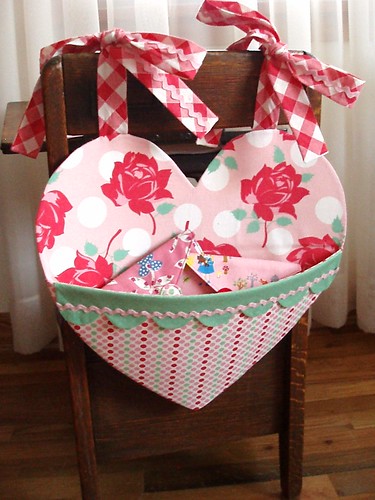
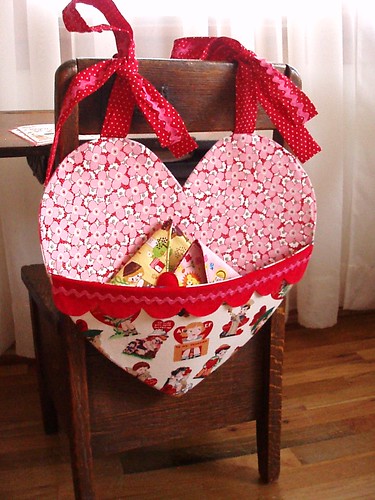
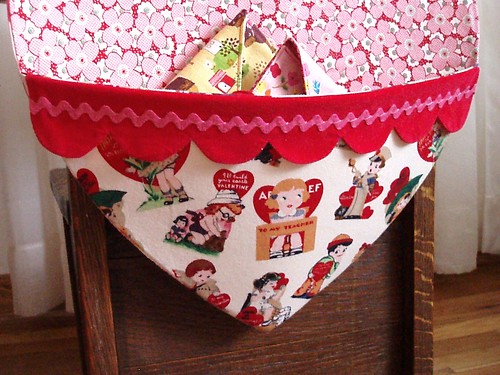
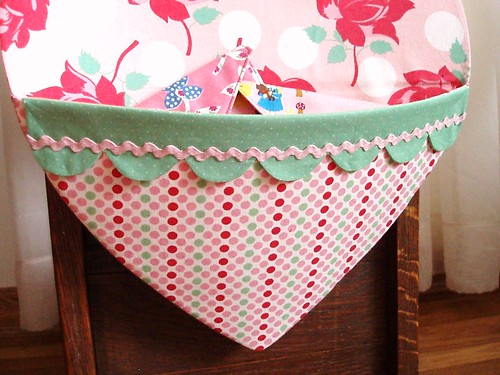
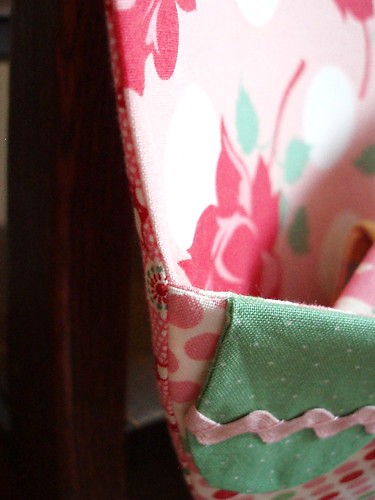
Finished SweetPea's Valentine Holder and her teacher's Valentine Holder (notice the 'To My Teacher' Valentine on the front). Peltex has been resurrected to become part of the land of the living since learning my new trick. Seriously - check out the seams and how non-bulky they are. I could have hugged Liesl at 2:00am this morning from my Peltex delight.


Not one speck of bulk - NOT ONE!

Anyway, kids are off today and they are so happy. SweetPea specifically picked out the "Big Red Rose" fabric. While I was actually hoping she'd lean more towards the vintage Valentine print for hers, I can't blame her for choosing one of my all time favorite fabrics (all on her own, mind you).

Cowboy picked out Lego fabric for his but it could not be heart-shaped. It had to be plain and rectangular, with "no hearty fabric Valentine's inside either". I will photograph his when he brings it back from school as he took it the other day to show his teacher.

I even managed to finish the little fabric Valentine's just as a fun decorative touch.