 When my daughter recently asked if I would make her another "Bubble Dress" (you know your sewing has influence when your children begin asking for garments by their pattern name) I knew the timing was perfect to create a photo tutorial of the placket process. This photo tutorial will show you how to sew a perfect Oliver + S Bubble Dress placket without any open gaping.
Also, if you are careful with the cutting, marking and final hand-sewing, you can create two dresses in one! Follow along and I'll show you how.....
~ ~ ~ ~ ~ ~ ~ ~ ~
The pattern cut-out and construction are pretty straight-forward. However, one thing I did differently during the cut-out/marking process was to baste the pattern directly onto the fabric itself, like so: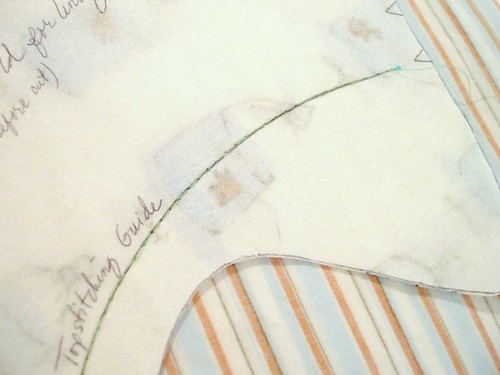
 Once you remove the basting stitches, you will have a perfectly marked top-stitching line! (I also recommend the use of a walking foot for the actual top-stitching in step #12, page 2, of the pattern - you will have much less puckering and pulling of the fabric layers.)
I also prefer to grade the neckline seam. This helps the neckline to lay flat and smooth on the outside of the garment.
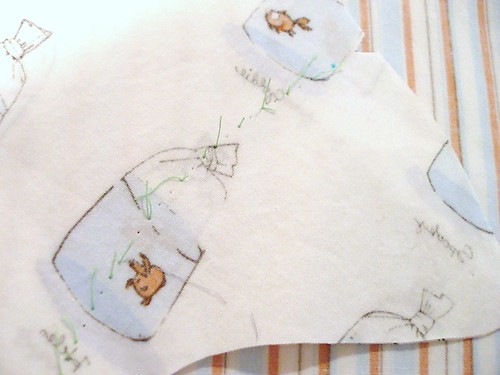
 The placket construction really begins at Step #7 (page 2) of the pattern. Take note of the stitching in the illustration. You are instructed to stitch only to the dots (that you transferred to your fabric from the pattern) of the lower back bodice edge. This is very, very important! If you stitch any farther than the dots, then the placket construction will not take correct shape.
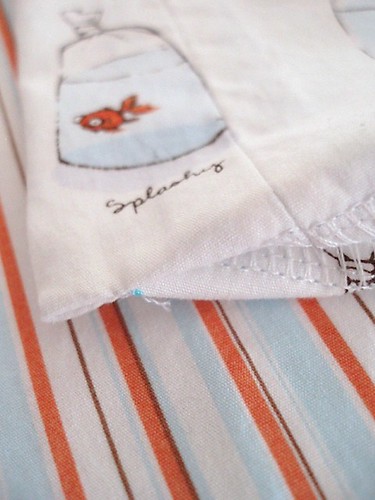 Bodice Placket turned right side out.
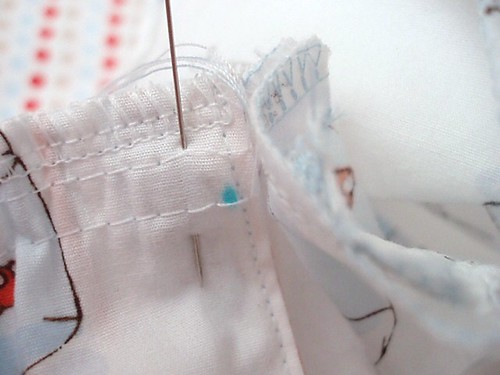
Beginning with step #2 (page 3) "Attaching the Bodice to the Skirt" you will need to make sure that your back bodice is turned inside out - especially the lower edge (the part that you stitched only to the dots). If you do this, you will have clarity for matching up your garment pieces to coincide with the pattern illustration. The left side of the illustration is what you want to pay most attention to.
Skirt is shown on the left side and the Bodice is shown on the right side - however, the bodice is turned inside out at the back lower edge:
 Same position, different angle:
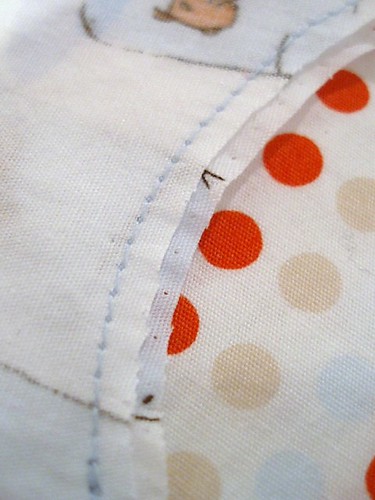
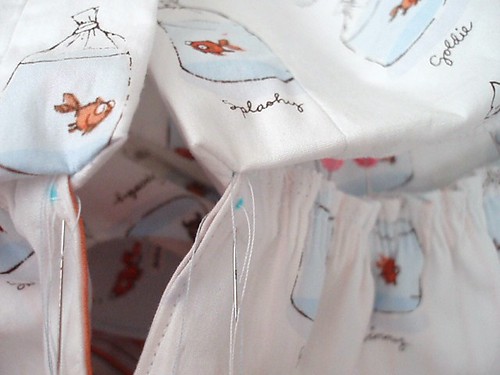
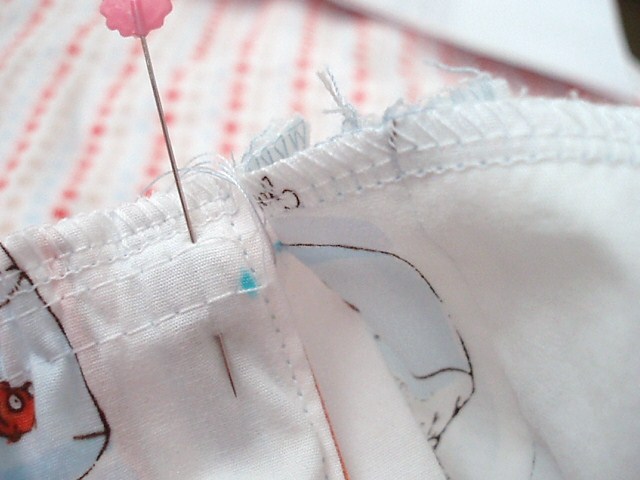 Again, same position, different angle - you can see clearly in the photo below where the stitching line is of the lower back bodice that you finished in Step #7.
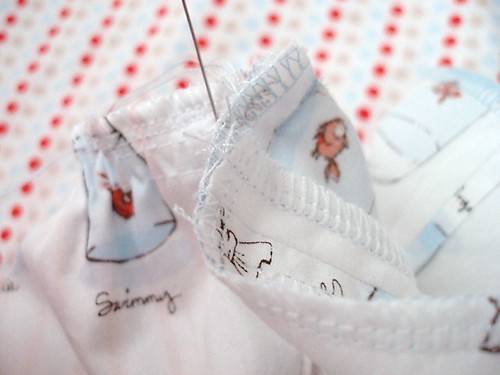 Below, you can begin to see what the final placket will look like once it is stitched and turned right side out...
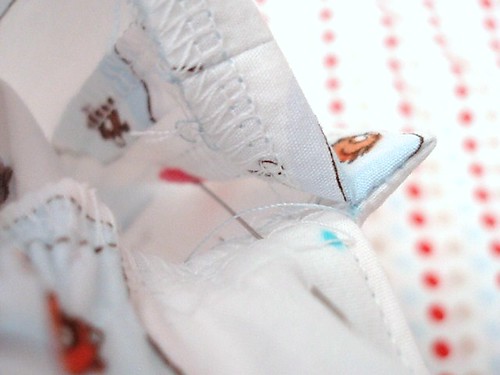
 Adjusting your gathers, continue pinning all the way around to the other placket side being careful to match your side seams along the way.
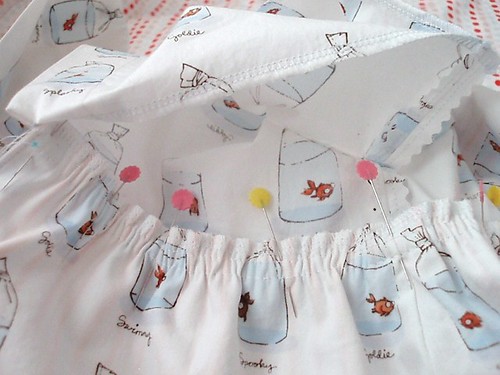
 When you finish pinning the skirt to the bodice, this is what your placket will look like (on the lining side). Now you can stitch the skirt to the bodice.
Being very careful, handstitch the bodice lining in place being sure to place the lower bodice-lining edge over the stitching line you just finished when sewing the skirt to the bodice. Now turn the garment right side out and follow the final steps of the pattern to finish sewing the dress.
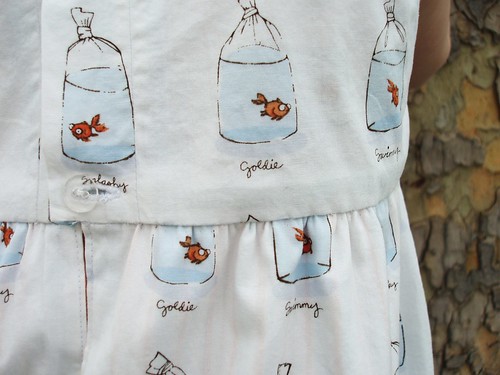
The photo below shows how the placket should overlap on the outside of the dress.
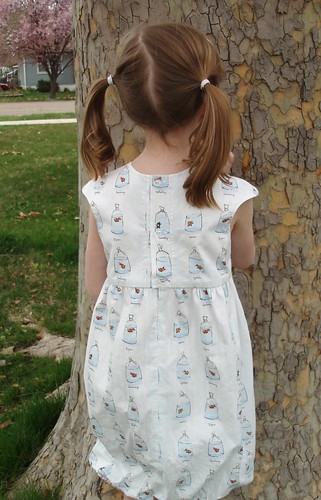
 Finished garment with buttons in place.
 Notice her little fishy face?
Want this to become a reversible dress?
Careful handstitching will allow for that feature easily!
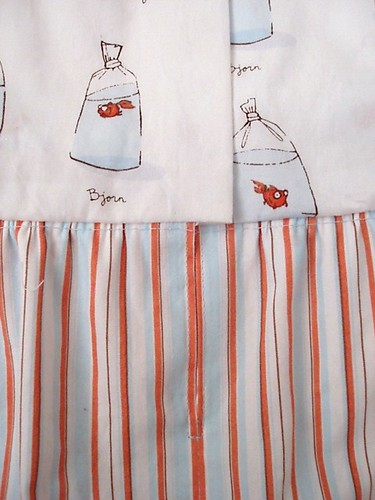
 You will notice that the placket must overlap the opposite direction on the lining side for the reversible-dress option. The buttons are on the same panel, but each one is sewn opposite front-to-back of each other.
 For a fun little laugh, you might enjoy her "Bubble Dress, Golden Fish" song here.


7 comments:
You would not believe how timely this lovely tutorial is. While I'm not working on a bubble dress (yet) I am completely stumped by the same process on a Vogue dress for NK. I kept thinking there must be a way to encase the waist seam between the bodice and lining. And here it is!
I am inspired once again by your amazing skill! I am yet too terrified to cut into my HR fishes.
Thanks!!!
I needed this tutorial so much after trying to figure out how do it by myself (for the 2nd time).
Now I'm pretty sure that my 3rd Bubble dress will be just as perfect as yours...
Thank you! This was so timely - I just made my first bubble dress & the placket turned out nicely thanks to your tutorial!
great little tutorial! when i saw the picture on flickr i totally wondered how you avoided the gap! then i followed the link to your blog. thanks for showing us how.
I LOVE YOU! ;) thank you very much!!!
Thank you, April! Between you and Nicole, it's like having private sewing tutors. These blog posts and tutorials are so appreciated!
Post a Comment